Showing posts with label spring. Show all posts

Saturday, March 22, 2014

Ringing in Spring

Back in early fall when I began this blog, I envisioned great things. The hope was to update each week or at least each month about the progress in my classroom. I started off on a good foot, but then winter happened...DUN, DUN, DUNNNN. Okay, really life hasn't been all that dramatic. The problem is my kiddos and I missed quite a bit of school this winter, so I really did not have too many new things to share. Some weeks my classes (I have 2 on alternating days) would only get one day of school a week. Therefore I reused many things until they got the concept being taught.
 Enough gloom and doom for now. Spring is here, and brand new things are in bloom! Here is a look at some spring time events going on in March. As of now they have a St. Patrick's Day focus. One fun tradition at our school is hunting for the leprechaun.  The week before the 17th, my director will play tricks on the kids while they are at recess. (i.e. steal our gold, mess the room up, leave foot prints, etc). The kids love it! They enjoyed hiding our gold and searching for it if it went missing. They walk through the hallways so quietly trying to find the sneaky little guy. What fun!

St. Paddy's Day also provides many learning opportunities. Lucky Charms has been a big deal of late. In fact we made Lucky Charm treats the other day to practice our measuring skills. They were a tasty treat! The kids also love playing with the cereal in the sand & water table. I always tell my kids that the food in our learning centers is full of yucky germs, so they do a great job of not eating the food set aside for play.

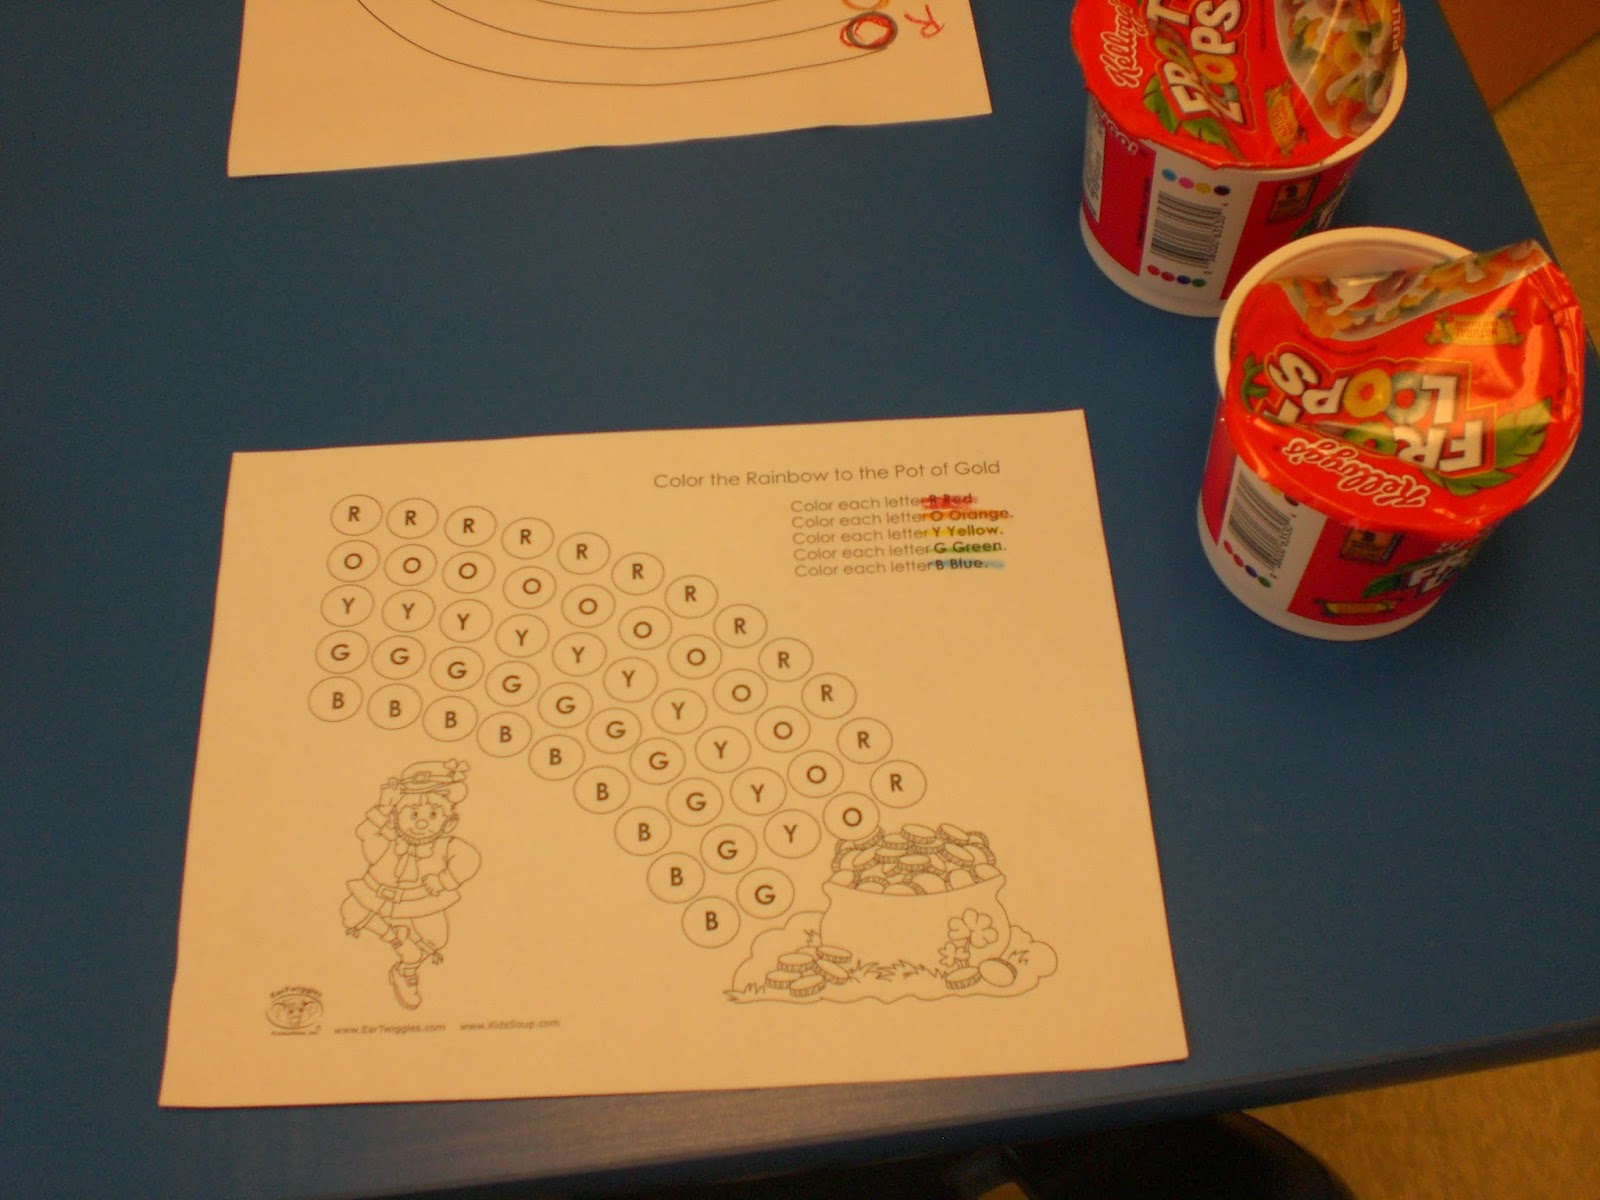
I used St. Patrick's Day as an opportunity to teach about the rainbow. As a literacy activity, I used Fruit Loops and a rainbow letter map to have the children match up the correct color on the correct spot. The print outs I used came from KidsSoup.


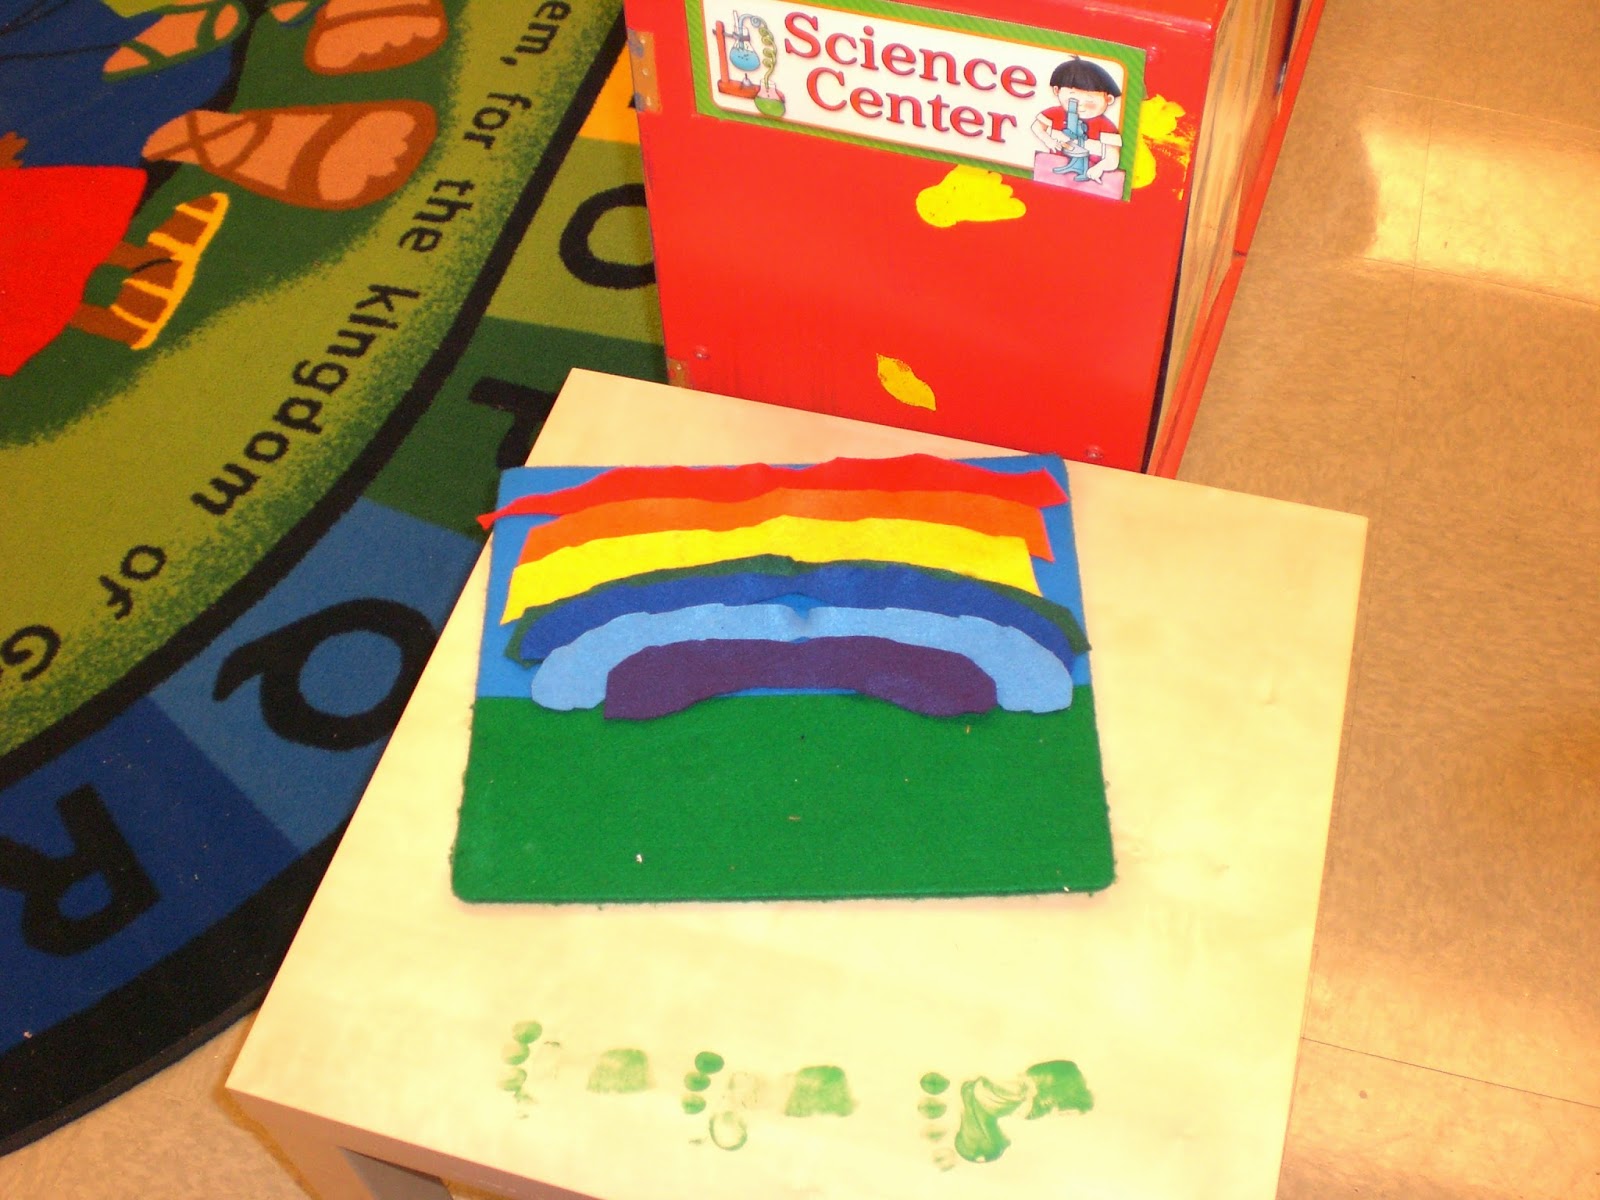
I left a felt board on the science table and did my best to cut out rainbow shapes of each color. Based on the material I had left, it didn't turn out great. However, the kids enjoyed using it, so it served its purpose. You can also see where that tricky leprechaun visited us.


While looking around for ideas on Pinterest one day, I came across a Pot'O Gold activity.I didn't have the materials on hand to put together the learning center, so I improvised. I also made mine a math center instead of the letter O idea it had been intended. Instead of giving each pot of gold (a black paper cup from the dollar store) it's own individual rainbow, I constructed a rainbow from party streamers and tape. I used pink in place of orange since that is what I had. I searched and searched and searched for candy or play gold coins, but I finally settled on gold Dove chocolates and Butterfinger chocolate egg candies as my gold. I took clothespins numbered 1-20 that the children could clip onto the cup and place that much gold under the rainbow. The rainbow really helped attract the kids to the table. This was also the pot of gold we would hide each day.


We reinforced our skills of rainbow colors with a craft for each class. Some projects did get out of order a little bit depending on how much space the children allowed as we worked, but they did know where it should go. ;-) Here is a leprechaun hat streamer rainbow and a paper plate collage.

Some other learning activities included graphing Lucky Charm marshmallows. You can find plenty of graphs online. I never did get a chance to let them color their findings, but the sorting and counting gave them plenty of practice. The classes also got a chance to practice writing their letters in leprechaun goo (hair gel and green food coloring in a plastic baggie). Be sure to tape your baggie on ALL 4 SIDES. I should have known better, but you live and learn. Thankfully it is fairly easy clean up if the worst should happen.


We also had some shamrock fun. I placed dots on the shamrocks and the children had to match a rainbow stick with the corresponding number to the correct shamrock. I also wrote the lowercase letters on one side and they matched it to the uppercase letter on our circle time carpet.


That's about it for now. Hopefully the snow is about gone, and I will have lots of new spring activities to share. We are also ready to get outdoors some more and have some fun!

Saturday, September 21, 2013

Bird Nest Project

Here is a re-post of a project from my other blog:

First up in my bird nest project. The inspiration for this project came from Dr. Seuss Read Across America week. My mom let me borrow her Seuss book from her kindergarten classroom, and I chose to read "My Nest is Best" to my 2 day class. The book goes over how birds collect various objects when building their nest. This made me think how fun it would be for the kids to make nests of their own. This project allows for creativity, but I will go over what we did and what I would change in the future.
First of all I will say that I love small groups. I do have an assistant, so this makes this possible for me. I don't always have the time for group work, but I love it when I do. Though I only had the one craft planned for this day, I did make it into 2 parts.
My assistant led the bird group. For this part I had stencils of birds for the kids to trace. We are trying to focus on pre-writing skills, so  I am hoping to do a lot of tracing activities in the weeks to come. I had a bird cut-out that I believe originally came from Microsoft Word clip art. You can find whatever shape would work best for you. I wish I would have picked a cut out a little more defined. Many of the children thought they were cutting out a fish. I also meant to have them glue feathers onto their cut out, but I forgot to get them out. If you have the time, I think it would be fun to decorate the birds with feather, googly eyes, markers, etc. This may be more appropriate for longer sessions, older children or a deeper study on birds. We gave the children the choice of blue, brown or red for their bird, but the possibilities are endless. The kids finished this part by gluing their bird to a background paper. We used gray, but again, you could change it as needed.

Now that we had the fine motor skills working with the birds, we needed the nest. I gave each child a half of a paper plate. I had them assemble their nest on the part that scoops in so it would be easier to glue the nest to the background page. I made a mud mixture by blending food coloring together until it looked brownish. All I can say for that is experiment! They really seemed to get into the fact that their glue looked like mud. Just be sure they realize it is glue for their objects and not just paint. Some were getting so into painting it, that they were letting the glue dry before they put anything "nesty" on it. I have them q-tips to spread the glue, but I think paint brushes would work better with glue. Normally we find that the little fingers handle the q-tips better, but the fuzzy and glue don't work together well.


I placed the muddy glue around the objects. They could choose cut up paper, ribbon, yarn, straws, felt, pipe cleaners and tissue paper for their nest. I had some left over supplies from previous crafts, so many things were already cut. However, anything new I left for them to cut to get in that fine motor skill practice. They all seemed to gravitate toward the same type of material, but it was a joy to see their creativity  I think I have them too many color options because the supplies looked like a nest, but the colors detracted from the project at hand. It's pk since they did get to express creativity, and sometimes it is good to just recycle and use what you have.

In the end they really turned out cute, and I believe the children had fun putting them together. I enjoyed hanging the final products up for a new spring bulletin board. I am ready to put winter behind us, and what better way than nest building! I glued their nests on after they left for the day. They did glue their birds, but I wanted to test out the durability of their nests. I encouraged them to drag yarn, pipe cleaners and anything like that right through the glue so it would stay. Over all they held together well. Most things that fell off I was able to replace right where the child had originally placed it.

Hopefully I can be more faithful about sharing my teaching ideas. With my 3 day class we did the paper plate "Cat in the Hat" craft you can find here. They turned out adorable, and I was able to split the groups into 2 as well. One group painted while the other assembled the hat and face. My first Dr. Seuss week as a teacher seemed to go well overall. With that being said,  Happy Crafting and Happy Springtime!