Wednesday, November 27, 2013

Thankful for Fun

Wow! November has flown by. The holiday season is truly upon us. Pre-Kindergarten proved to be a lot of fun as we studied more about fall and Thanksgiving. The month began with learning about leaves. The children began the week with a nature walk. Each child was given a bag to collect leaves. These leaves were used for sorting, patterns, art crafts and leaf rubbings.
One day I gave  each child half a sheet of construction paper with 2 pre-cut leaves from the die cut machine taped on the page. Each child painted over the whole paper, and the leaves were removed once the paint was dry. Here is a look at the final result:
Another way of practicing patterning was reusing the candy corn mix from Halloween. This time instead a sorting the candy in muffin tins, I place painted egg cartons on the table. The children came up with many creative patterns using these manipulatives.

We have begun talking about the 5 senses. This month for the sensory tabled, colored and scented rice was a big hit. All I did was place rice in different ziploc bags. In each bag I added a little water, different food coloring and a fall scent (cinnamon, cloves, ginger, pumpkin pie spice, nutmeg, etc). The colors did not stay separated for long, but the children love playing in it. Many parents inquired about how to make it, so it truly was a big hit all the way around.


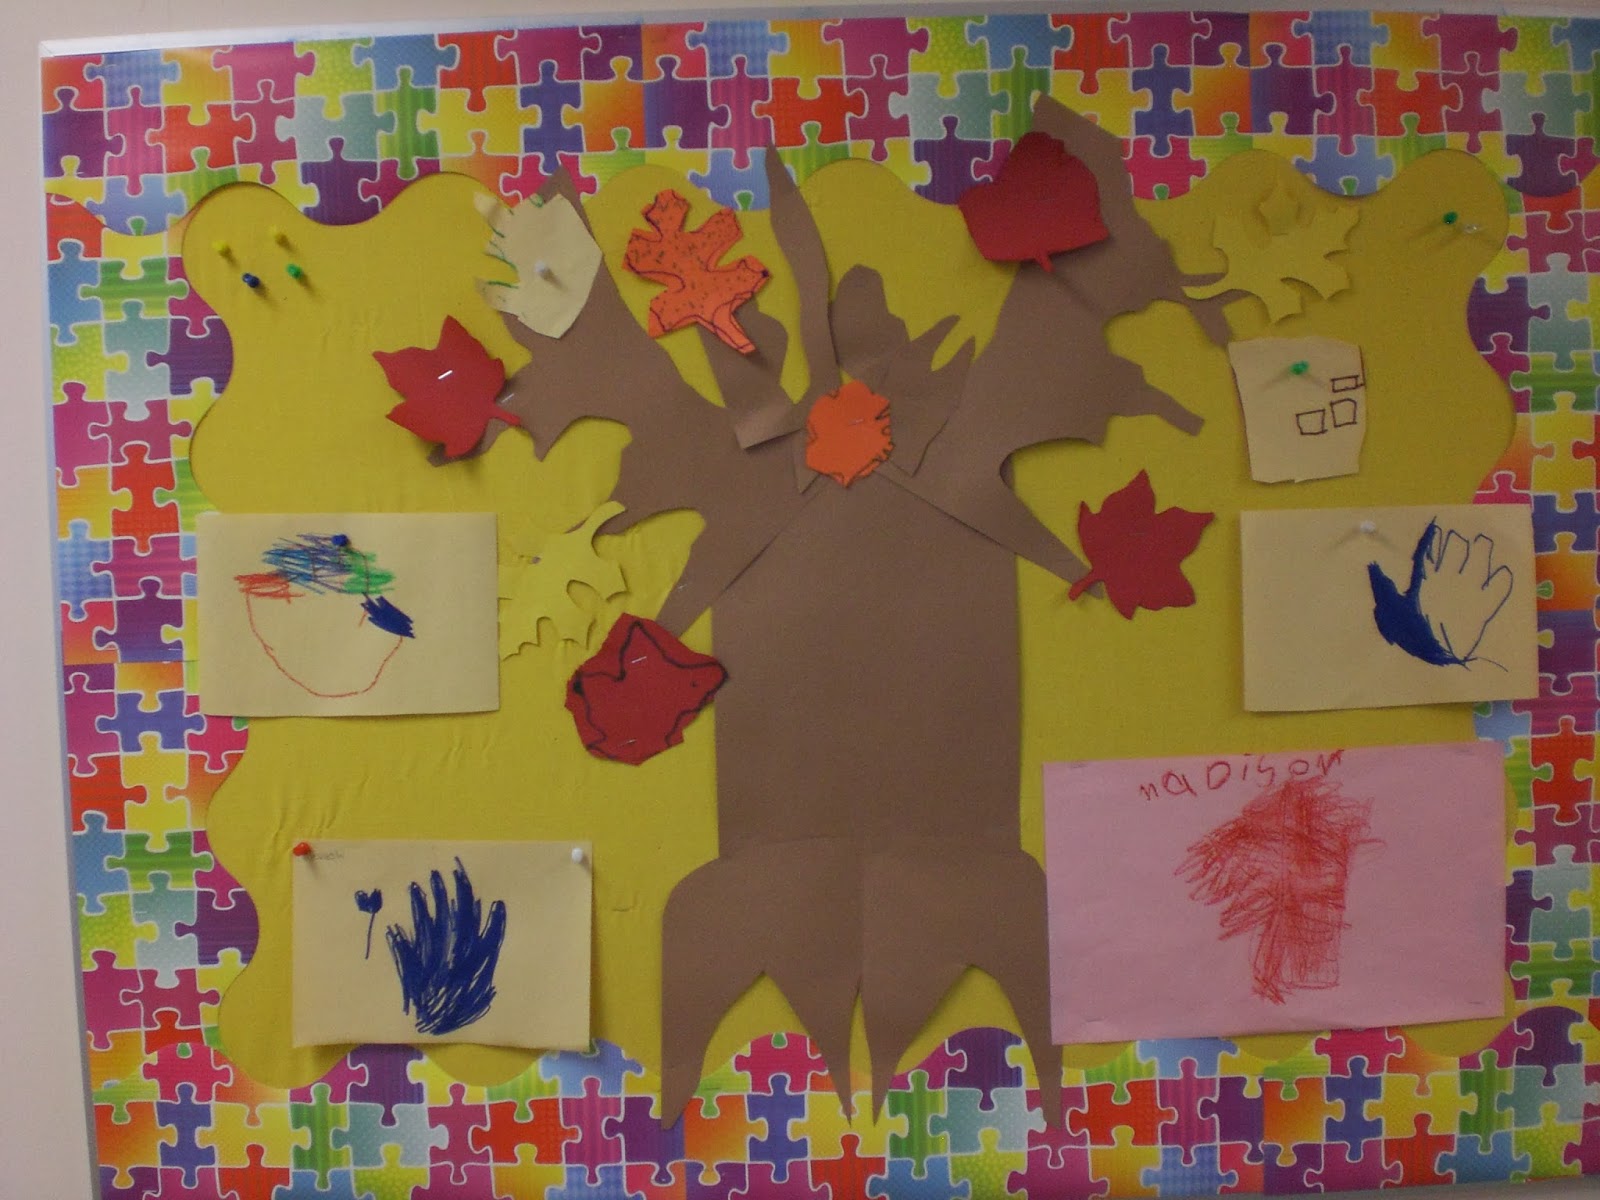
I also made a tree trunk for the art work bulletin board. My students practiced tracing and cutting out leaves, as well as leaf rubbings. I also added turkeys and such to the board as we went through the month.


Next we moved into the study of the first Thanksgiving. The children learned that Squanto aided the Pilgrims in finding food. Since he taught them to make popcorn, we practiced our number recognition and counting skills. The children identified the number in the cupcake liner and placed the corresponding number of popcorn into the liner.


Many of the girls in my class love making necklaces. I knew I had to set out my noodle station. All you have to do is place your dry pasta in a plastic baggie and squish it together with a few drops of food coloring. Place some yarn out on the table, and let the fun begin!


The Pre-K also learned a lot about turkeys this month. Not only did we learn the difference between a tom turkey and a hen, we continued to learn the alphabet. I put this learning center together based off a Pinterest idea. The children really loved finding the feathers for the turkey. Since I laminated the turkeys, I only made four. Once the children found the feathers for the 4 letters I put in front of them, I would erase them and write 4 different letters with a dry erase marker.


Another literacy center idea that came from Pinterest was salt writing. I placed some salt on the cookie sheet and laid turkey feathers around it. The kids had a blast practicing writing their name. It was all fun and games until they started using the salt with the kitchen set and salt got everywhere. You can't take your eyes off them for a second!


The other Pinterest idea that inspired a learning center was for math. I loved the idea of clothespin feathers for building fine motor skills, but I wanted to make it more complicated for my Pre-K kiddos. 1-to-1 correspondence is something my students need to work on. With this in mind, I painted the clothespins different colors, and I colored corresponding colors on the turkeys. The children had to place the feathers in the correct spot.

Every year our school has a Feast of Favorites where the children bring in their favorite side dish. The parents are invited to the feast to share the food, and our school provides hot dogs as the main course. Each class makes a center piece for the tables. This year I put together a craft based off of several internet ideas I saw. First I set up a feather making station where the children had to trace 5 feathers and cut them out. They could choose any color they wanted.


Together as class, everyone painted a small Styrofoam cup brown (which thank goodness the Crayola paint did not fall off of), and they glued their eyes, beak and waddle (cut from red yarn) to their pre-cut face. I glued the finished feather tailed and face to the correct cup. Here is the finished product:

This was the test run I made to make sure it would work
The most exciting day we had this month was the Great Turkey Race. I was reading this book to the class when I thought, "We could do this!" In the story, the turkeys compete for the most medals to see who will be the special Thanksgiving turkey. Little do they realize this turkey will be eaten. The first thing I did to prepare for the event was make up some turkey medals. I used yellow, gray and brown paper, a turkey die cut and gold, silver & orange glitter. I also wrote events and places on the back before laminating them and tying them up with yarn.


 In the book the order of events go as follows:

  • Turkey Trot - My kids were instructed to run like a turkey from the start to finish line. I did it in 3 heats, and took the winner of 3 in a final race to determine the medal winners.
  • Dance Competition - My kids love Freeze Dancing, so I did a Freeze Dance for this event. Normally they just freeze and start dancing again when the music begins, but for this event I called them to sit out if they were still moving when the music stopped.
  • Bucket Throw - I place a sand bucket in the middle of the carpet, and the children had to throw the turkey feathers we used for the salt writing. 
  • Obstacle Course - This was a big hit with the kids. I had to laugh when one of them told me the "popsicle" was their favorite part of the day. It took me a minute to figure out what she was talking about. Anyway, instead of running through the pig's mud, they ran through hula hoops. Next, they ran up and down 2 balancing see saw type things instead of jumping over a hay stack. Since I didn't have a clothesline for them to run through, they ran through a play hut, crossed over a balance beam and crawled through a play tunnel. The children finished the race by riding a play tractor to the finish line just like the turkeys drove the tractor to their finish line. I timed them to determine the winners.
Another event this month was picture day. Since I had children coming and going, I decided to play a game. Each child was given a turkey I made out of hand prints with a letter on it. I told them they were going on a turkey hunt. Each child had a chance to hide their turkey. They were instructed to sit back on the carpet. I would then send 1 or 2 children to go find the turkey that said (sound of the letter I wanted them to find). They did a great job with looking until they found the correct turkey.

Lots of fun this month! Now to enjoy the break and prepare for Christmas fun!

Thursday, October 31, 2013

Halloween Happenings

I realize Halloween can be a bit of a controversial holiday, but I must say it does provide many excellent learning themes for the month. Over the past couple weeks, my pre-kindergarten class has learned about nocturnal animals (specifically bats and owls) and human bones. Here is a peek at some of the things that have happened at the end of October:
Spooky Loo Brew

I will have to say that most things on the blog this week are Pinterest inspired. I found this fun sensory table item while researching sensory table ideas. All you do is boil some spaghetti and mix it with a little olive oil and food coloring in a plastic bag. I actually used a bowl and plastic wrap since I did not have a bag avaiable at the time. It's been called witch's brew, but I changed the name to Spooky Loo Brew inspired by a fun song from the Wee Sing Halloween cd. This cd has some awesome dances and finger plays the children love to do. The Spooky Loo, 5 Little Pumpkins and Dem Bones are my favorite. The children also enjoyed doing freeze dance and listening to the cd during play and snack times. Anyway, the Spooky Loo Brew seemed to be a big hit. I dumped a lot of creepy crawly critters in the mix for the kids to count and sort. I found some fun Halloween themed cups at Wal Mart for less than a dollar which was fun too. Just a word to the wise - refrigerate between uses or throw away from the start. Don't ask me how I know.
Fun in the brew
The children really seemed to enjoy learning about nocturnal animals. We started out learning about bats. I worked quite a bit on rhyming words with the kids using bat themed activities from Kids Soup. Our classroom resembles a bat cave with their flying bats from KidsSoup hanging in the classroom.
Finally feeling like fall in here
We continued our study with owls. For a math themed learning center, I put together an owl with a next made from a paper bowl and tissue paper. I got together some Easter eggs with the letters we have learned. The children first had to match the upper and lower case letters on the egg. They rolled the dice then placed that many eggs in the nest. They loved it! We also enjoyed some cutting practice with a craft from KidsSoup.
Learning is a hoot!
I took advantage of our nocturnal animals to put a fun twist on the game SWAT.  I set up 2 teams - the bats vs the owls. I drew things that these creatures ate which matched up with the letters we learned so far - A for ant, N for nut, P for pumpkin, S for snake, F for fruit and M for mouse (B for bug was later added). When I would say the letter, they would race to be the first to swat it with the fly swatter.

We also learned about bones in the human body by taking a look at skeletons. I was really happy with the way our Q-tip skeletons turned out!
Dem Bones, Dem Bones,Dem Dry Bones

The split cracks me up

Adorable!
While learning about owls, I followed these instructions to make my own owl pellets out of newspaper. Because of this project, I had a lot of pieces of cut up skeleton. Using these pieces, the kids were able to play a fun math game. They rolled the dice and based on the number they rolled, they searched for the bone. Whoever completed their skeleton first was the winner.


The children have become great sorters this week with candy corn mix. I placed a 6 cup muffin tin out next to an assortment of candy corn treats. The children worked on separating them out. It took them a little bit to catch on, but they have been doing awesome. I plan on using the candy for patterning next.
An easy craft for them to do at the art table is ghost prints. The used their hand and some wiggly eyes to make their own ghost.
We used their thumb prints for these fun haunted houses. The idea and template for the house came from the Arts & Craft Mailbox magazine. The kids cut out the house, used their thumb prints for the ghost and practiced writing their name on the pumpkin which was glued on the house.

We ended Halloween with our Fall Fun Festival at school.  I was proud of my D-I-Y bee costume I found online. Just add yellow duct tape to a black shirt, pipe cleaner and pom pom to a head band, and tights to wing shaped wire hangers. This is what you have:

Not bad for a 4 yr old photographer


I was also in charge of the craft station this year. It ran smoothly for my first time. I was going to have the children cut out their own eyes and mouth for our paper plate ghosts, but I ended up cutting them out to save time and space. I just placed index cards with the directions at each step. The parents were able to see them and help their kids out. Having everything in it's own place made for easy set up and clean up. Not to mention it was a cute craft - thanks Pinterest, you're a lifesaver! 


Whew - Busy times and that felt like a lot, but there you have it. Some fun ideas for late October! 

Thursday, October 24, 2013

Pumpkin Fun

Fall is hands down my favorite season. I love everything about fall, the smell, the colors, the fashion, the weather, etc, etc. Fall feels like holiday kick-off to me. One thing I spotted this year that let me know fall had arrived was the pumpkin. I pass about 3 pumpkin stands on my commute to work. These stands started popping up in September, so I began my itch for October. I love pumpkins, so pumpkin week is one of my favorite themes to teach in Pre-K. We had a lot of fun this year with it!
      The best thing we do it simply cutting open the pumpkin. I cut the top off beforehand, and the children reach in and pull out the "guts." They love it! A few were a bit shy about getting messy, but most of them asked for a second turn. When we came back inside, the kiddos made their own pumpkins. They got an orange double sided (folded) pumpkin with a stem. I used a stencil found online. I placed glue, pumpkin seeds and yellow yarn in front of them. The outside of their pumpkin read, "What's Inside?" This is based off a craft I found on Pinterest.
Final Products

The inside look

Close-Up

Much like the apple math center from No Time for Flashcards, I did a pumpkin seed count. The only variation I came up with was exchanging the tally mark cards for numbers. I recycled my magnetic numbers from the squirrel and nut count which worked great with the cookie sheets. The child chose a number card, attached it to the side, and placed the correct amount of pumpkin seeds on the pumpkin.
The center set up

Ready to go!

A fun idea I got from KidsSoup was pumpkin pie topping. My grandmother had given me tiny pie pans for cooking while I was student teaching. I never got to use them until now. All I did was cut out some brown circles, place them at the bottom and set out cotton balls. The children grabbed chip clips, clothespins, or tweezers and placed the topping (cotton balls) on the pie. This could easily be made into a counting activity as well. I chose to use it as a pre-writing activity for developing that pincer grasp.
Simple fun
Finally I found a pumpkin play dough recipe I really liked. The play dough smelled wonderful, and it was the perfect consistency for play. The recipe also explained how to dye noodles. I placed the green "stems," play dough, green pipe cleaner and a bag of fake flowers out on the table. I instructed the children to make a pumpkin patch after learning about the life cycle of a pumpkin. Knowing about vines, stems, yellow flowers and pumpkins, the children made a beautiful patch. I was really proud of their creations! The below is an example I put together for photo sake.

Of course to complete our study of pumpkins as well as apples from September, a field trip was in order. The children enjoyed picking their own apples from the orchard and taking home a pumpkin from the patch. The hay ride was a big hit too!. Fun times! I love October!
Apples Galore

A successful pumpkin picking

Hayride fun!


Thursday, October 10, 2013

Fire Safety Week

I got really excited about Fire Safety week this year. This post is about a few learning centers I came up with for the week. For literacy I set up a letter review. I place a firefighter in the wooden firetruck from the play set. I also took 4 paper bags, cut doors in them and wrote the letters that we have studied on them. They represented the fire station. I placed letter cards and beginning sound pictures in the middle of the table, and the children were instructed to transport the letters to their proper station. Unfortunately I forgot to take a picture.

For my math center, I cut out a dog's face from felt. I gave him eyes, nose and mouth. I then cut out several black circle like shapes. I placed large dice out on the table, and the children had to count the number of dots they rolled and apply that many spots to the dalmatian. Don't worry about the spots being in any particular shape, for they are after all - spots!

The last center I came up with for Fire Safety week was for the Sand & Water table. I have seen ideas online where people freeze objects in colored water. I took this idea and adapted it for my firefighter theme. I took hay bales, fences and similar objects from the play area that could potentially be set on fire. I froze them in orange, red and yellow dyed water. I placed the ice chunks in the table and set funnels, watering canes and cups with warm water in the table. The children poured the water over the ice releasing the objects. Though ice is the polar opposite of fire, it still served the purpose and the children had fun!

S is for Squirrel

I am a little behind in what's been going on in the classroom. So I must back up to last week. September was all about apples, and now October & November are about fall fun. I began our study of fall with squirrels. The letter S is next in the curriculum I use, so I thought squirrels would be a fun & fitting study.

I must admit I was a little discouraged about finding things for our furry friends, so this post may be a bit short. All week we worked on the "Gray Squirrel, Gray Squirrel" fingerplay. The kids loved swishing their bushing tails. We also learned that squirrels say hello with their noses. With this in mind and a few friendly suggestions from my director, I came up with this craft for the kiddos.

 The squirrel template came from a different school craft on KidsSoup. Instead of using it in a painting project, I traced the squirrels on gray paper. The children cut them out. They were instructed to pull apart cotton balls (for those fine motor building skills) and glue them to the tail. They also applied an eye and fuzzy nose. To keep the bushing tail matching, they squeezed glue onto the tail and my assistant and I helped them put glitter on the tail. They turned out really cute!
Here are 2 of our furry friends saying hello
This year at my school we are teaching the children the fruits of the spirit. October's theme in kindness, so I was able to come up with a math activity that led to kindness. Though we lack oak trees at the school, we have plenty of chestnut trees. At the beginning of the week, I took the children outside to collect lots of chestnuts. I had to pry them out of their prickly outer shell with a stick to prevent injury, but we still managed to come up with a lot. I had the KidsSoup squirrel and number activity printed out, and the kids enjoyed practicing number recognition and counting with the chestnuts.
At the end of the week I passed out the numbers. Together we named the numbers, and each child had a chance to count out their number of chestnuts. To practice kindness, each child took their chestnuts and placed them in Gatorade bottles for the Tot Time (1 yrs) class. Now their fun activity will be used as a sensory bottle for youngsters. They had lots of fun with this activity.

To end the week we played "Hide the Nut." One child would place the nut under their chair (nest) and I would instruct another child to steal it. I would then say, "Little Squirrel sitting on your nest, who took your nut, what is your guess?" The child would then guess until they got the right answer. It was good practice in following directions as many excited lips wanted to give away the answer.
  We had a fun squirrel week, but these were the highlights!

Thursday, September 26, 2013

Apple Theme Fun

Fall is a wonderful time of year! I love the weather this time of year and the beautiful colors. As a teacher, I love it even more for the many, many themes fall offers. This year to kick off the start of a new school year, we chose an apple theme for September. Here are just a few ideas I came across over the past couple weeks:

My personal favorite was teaching the children the parts of the apple. I wanted to do more than just a poster printed off the computer. When researching teaching ideas, I saw an adorable "Parts of the Apple" display on a Google images search using a pocket chart. It was then I remembered my brother had fixed my flannel graph board. This inspired me to use felt to teach the parts of the apple. As suggested by my director, I printed off labels and used Velcro so they would stick. The children had so much fun helping me stick up the pieces and labels each day. They picked up the scientific names very quickly!

I used a worksheet from KidSoup to reinforce the apple parts. I could not find one with the names already on the paper, so I just made my own dotted words for the children to trace. Not only were they practicing the parts of the apple, but we were honing in on those writing skills.


We went right from parts of the apple to the life cycle of an apple tree. Many may be familiar with the finger play "Eat an apple, save the core, plant the seeds and grow some more." Thanks to Pinterest, one of my classes made these. I had extra black beans left over that the children glued, and I reinforced with packing tape.

The reason I had so many black beans on hand was thanks to an idea I was led to on No Time for Flashcards' facebook page. The idea led to some great one-to-one correspondence as well as pre-writing skills with that pincer grasp. The cookie sheets came from Wal-Mart, a 97 cent find!


Another Pinterest inspired idea was an apple taste test. The first letter I introduced my students to was the letter M, so I called it the Apple Mmm Test. I provided each child a plate with an applesauce MUFFIN(that they helped me MIX & MEASURE the class day before), apple jelly & apple cinnamon cheerios with a cup of apple juice. I provided each child with a stack of pre-cut colored apples. They followed my instructions about what to eat. As they tasted the food they brought the proper color to put on the graph if they liked the treat. After everything was finished, we compared the results.

I decided to celebrate Johnny Appleseed Day with the class as a bit of a special event. I wanted to go outside and play a group game for something different. When I looked up ideas online, I was not finding anything fitted with what I wanted to accomplish. Finally I settled on planning my own relay. I took 2 pans from the children's play kitchen set and got 2 fake apples. The children were instructed to place a hand behind their back, and hold the pan with the apple in it in the other. We reviewed how Johnny Appleseed wore a pot on his head and planted apple trees. It took a while for them to figure out how a relay race works, but they had a lot of fun trying.

Another idea I found one a random web search was using paper bags as your basket which turned into a fun letter sorting activity for the children:

I also enjoyed this idea from Teach Preschool. The kids really loved scrunching up their paper for their paint brush. I wanted to see how their imaginations worked, so some of these trees looked quite interesting. Some of the children really did a good idea of dabbing their ball into the paint and stamping it onto the paper, and some of the children rubbed their paint ball all over the place. I enjoyed seeing all of their trees.


To leave off, I haven't needed my whiteboard for anything yet, so here's what I came up with to keep the room looking exciting:

Another big hit was making these little guys. The sad thing was when it came time to eat the pie, many of the kids said they did not like pie. However, they had so much fun mixing the ingredients together and helping with the measurements. I also now have an awesome recipe for Thanksgiving!

That's what I have to share about my first Apple Theme. Looking forward to many fall fun themes in the weeks to come!